How to Fix a Flat Bike Tire
- Set off
- Length
- 4 min read
- Number
- 31
Every rider gets a flat sooner or later. The first one can feel like a disaster: a soft, bumping wheel, a bike that suddenly seems complicated, and a long walk home in your imagination. In reality, fixing a flat is a skill most people learn in an afternoon, and once you have done it a couple of times it takes little more than a coffee break.
This guide covers the standard setup most bikes use: a tire with an inner tube inside. Tubeless tires work differently and are best handled using the maker's instructions.
The small kit worth carrying
- Two or three tire levers – plastic ones are kind to rims.
- A spare inner tube in the right size and with the right valve type. The size is printed on the side of your tire.
- A patch kit as a backup for a second puncture.
- A mini pump or CO2 inflator that fits your valve.
- A multi-tool if your wheels are bolted on rather than held by a quick-release lever.
Know your valve
Presta valves are slim with a small locknut at the tip that must be unscrewed before inflating. Schrader valves look like car tire valves. Check which one you have before buying tubes or a pump, because they are not interchangeable without an adapter.
Step 1: Get somewhere safe
Stop well off the road, ideally on a wide shoulder, driveway or patch of grass. If light is fading, switch on your bike lights so drivers can see you, and keep yourself and the bike out of the traffic lane. Turn the bike upside down or lean it against something steady.
Step 2: Remove the wheel
- For a rear flat, shift onto the smallest cog first. It makes taking the wheel out and putting it back much easier.
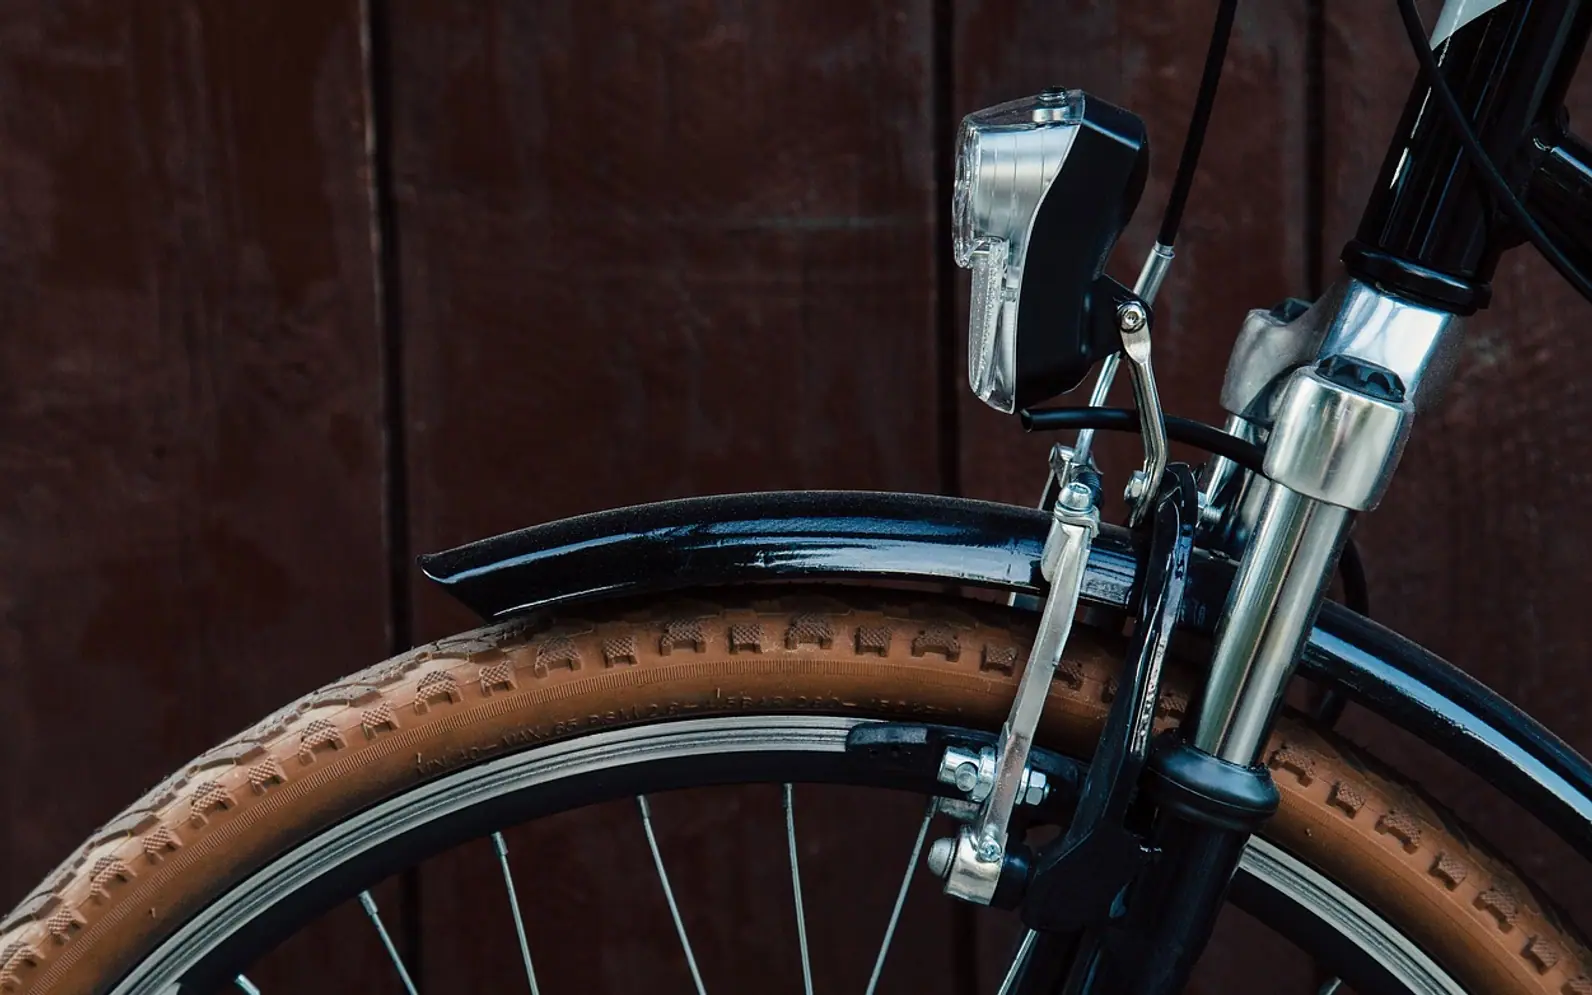
- If you have rim brakes, open the brake's quick-release so the tire can pass between the pads. Disc brakes need no release, but avoid squeezing the brake lever while the wheel is out.
- Open the quick-release lever or undo the thru-axle or nuts, then lift the wheel out. On the rear, pull the derailleur gently back to free the chain.
Step 3: Take the tire off one side
Let any remaining air out. Push the tire bead toward the middle of the rim all the way around; this gives you slack. Hook a lever under the bead opposite the valve, lever it over the rim and clip the lever to a spoke. Insert a second lever a little further along and slide it around the rim until one side of the tire is free. Pull out the tube, finishing at the valve.
Step 4: Find the cause
This is the step people skip, and it is why a fresh tube sometimes goes flat ten minutes later. Inflate the old tube a little and listen or feel for the hole. Then check the tire in the same spot:
- Run your fingers carefully around the inside of the tire to find thorns, glass or wire. Go slowly, because sharp fragments can cut skin.
- Look at the outside tread for a cut or embedded debris.
- Two small parallel slits in the tube usually mean a "pinch flat" from hitting a pothole or curb with too little air.
- Check the rim tape inside the rim covers every spoke hole.
Step 5: Fit the new or patched tube
To patch, roughen the area around the hole with the sandpaper from the kit, apply the glue if your patches need it, wait until it turns tacky, then press the patch on firmly. Fitting a fresh tube is quicker on the roadside, so many riders swap tubes and patch the punctured one at home.
Put a little air into the tube so it holds its shape. Push the valve through the rim hole, then tuck the tube inside the tire all the way around.
Step 6: Reseat the tire
Starting at the valve, push the loose bead back over the rim with your thumbs, working around both sides toward the opposite point. The last section is the tightest. Push the bead you have already fitted into the deep center channel of the rim to win extra slack. Try to finish with your hands; levers at this stage can pinch the new tube.
Before inflating, go around the wheel and squeeze the tire to check no tube is trapped between bead and rim.
Step 7: Inflate and refit
Pump to the pressure range printed on the tire sidewall, checking that the bead line sits evenly all the way around. Refit the wheel, close the quick-release or tighten the axle, and reconnect a rim brake. Spin the wheel to make sure it runs straight and the brakes work before you ride off.
Quick troubleshooting
| Symptom | Likely cause | What to do |
|---|---|---|
| Tube goes flat again soon | Debris still in the tire | Check the inside of the tire again, slowly |
| Wheel wobbles or bulges | Bead not seated evenly | Deflate, massage the tire into place, reinflate |
| Brakes rub after refitting | Wheel not straight in the frame | Loosen, center the wheel, tighten again |
Practice before you need it
The best time to learn is on a quiet evening at home, not at the side of a busy road. Pair it with a drivetrain wipe while the wheel is out, as described in how to clean a bike chain, and pack the kit into a saddle bag so it is always with you. Commuters will find more tips on what to carry in our guide to bike commuting for beginners.
Keeping lists useful
How to make a checklist you will actually use
A list only helps if it is short enough to read and close enough to grab.
Keep it near the job
Tape the ride check inside the garage door and the movie list beside the remote.
Fewer lines
If a list runs past a dozen items, split it into two smaller ones.
Verbs first
Start each line with an action, such as squeeze, test or pack, so it reads as a task.
Review each season
Lights matter more in winter and sunscreen more in summer, so update the list when the clocks change.
Topic by topic
Lifestyle
- IVG Pro Pods: A Close Look at Flavor Accuracy, Convenience, and Everyday Reliability
- Smart, Clean, On Schedule: Container Service That Helps Small Businesses Thrive
- Choosing The Right Photo Booth Hire For Weddings, Birthdays, And Corporate Events
- Thoughtful Gifting: Etiquette and Cultural Notes for Ordering from an Online Flower Delivery Shop